
Why Muffin Pans?
These Brazilian pão de queijo bites bake up into round, chewy cheese puffs with crisp, golden edges that perfectly mirror the muffin cup's flared shape. Made with tapioca flour, sharp Parmesan, and nutty Minas-style cheese, they're naturally gluten-free and ideal for passing around at a party while still hot and stretchy inside.
Ingredients
- 1 cup whole milk
- 1/3 cup neutral oil (such as canola or grapeseed)
- 1 tsp kosher salt
- 2 cups tapioca flour (also labeled tapioca starch)
- 2 large eggs (room temperature)
- 1 cup finely grated Parmesan cheese (Parmigiano Reggiano preferred, lightly packed)
- 1 cup finely shredded queijo Minas padrão or low-moisture whole-milk mozzarella (lightly packed)
- 2 tbsp finely grated Parmesan (for topping, optional)
- 1 tbsp melted unsalted butter (for greasing, plus more if needed)
Instructions
- 01Adjust an oven rack to the center position and preheat the oven to 400°F. Place a 12-cup muffin tin on a sheet pan (for easier handling) and lightly brush each well with melted butter, coating the bottom and sides thoroughly.
- 02In a small saucepan, combine the milk, neutral oil, and salt. Heat over medium until the mixture just comes to a bare simmer with small bubbles at the edges, 3-5 minutes. Do not let it boil vigorously. Remove from heat.
- 03Place the tapioca flour in a medium mixing bowl. While whisking or stirring with a sturdy wooden spoon, slowly pour the hot milk mixture over the tapioca flour, stirring until it forms a thick, sticky dough and no dry pockets remain. It will look gummy and clumpy; that's correct. Let cool 5-7 minutes so it's warm but not hot to the touch.
- 04In a small bowl, lightly beat the eggs. Add the eggs to the warm tapioca mixture in 2 additions, stirring vigorously after each addition until fully incorporated. The dough will look separated at first, then smooth out into a glossy, stretchy batter.
- 05Add the 1 cup grated Parmesan and 1 cup shredded Minas cheese (or mozzarella) to the bowl. Stir until the cheeses are evenly distributed and the batter is thick but scoopable and slightly elastic. If it seems extremely runny, let it sit 5 minutes; tapioca will thicken as it hydrates.
- 06Using a tablespoon measure or small cookie scoop, portion about 2 level tbsp of batter into each muffin well. The batter should come to about halfway up the sides of each cup; you'll get 24 bites, so plan on baking in 2 batches or using a second pan if you have one. If desired, sprinkle a pinch of the extra 2 tbsp Parmesan over the top of each portion.
- 07Bake at 400°F for 18-20 minutes, until the bites are puffed, rounded, and deeply golden on the ridged sides and lightly browned on top. They should pull slightly away from the edges of the wells and feel set but still a bit springy when gently pressed.
- 08Remove the pan from the oven and let the bites rest in the muffin tin for 3-4 minutes to firm up and finish steaming inside. Run a thin knife or offset spatula around the edge of each well, then gently lift out each pão de queijo bite. The sides should show the distinct flared, molded shape from the muffin cups.
- 09Repeat filling and baking with the remaining batter, greasing the muffin wells lightly again if needed. Serve the bites warm on a platter, or keep them loosely tented with foil at room temperature for up to 1 hour.
Chef's Notes
- Tapioca flour is non-negotiable here; it's what gives pão de queijo their signature chewy, stretchy interior. Bob's Red Mill tapioca flour works well. - The dough is meant to be sticky and elastic. If it's too stiff to scoop, whisk in 1-2 tbsp milk; if it's soupy, let it sit a few minutes before scooping. - Queijo Minas padrão is ideal; if you can't find it, a mix of Parmesan and whole-milk mozzarella gives a good balance of flavor and melt. - For a party, you can bake them up to 2 hours ahead and rewarm in the muffin tin at 325°F for 5-7 minutes to re-crisp the sides while preserving that molded, rounded shape. Serve with chimichurri, spicy Brazilian-style malagueta oil, or just good salted butter.
Behind the Scenes
How This Recipe Was Made
Follow the creative team's conversation as they developed, photographed, and published this recipe.
Mon
Tue
Wed
Thu
Fri
Sat
Sun
Margaret
Head Baker
Marcus
Copywriter
Steph
Project Manager
Julian
Art Director
Devon
Site Architect
Ria
Social Media Manager
Coffee's cold. We're doing pao de queijo this week - the cheese bread. Small bites, muffin pan format. Before anyone gets excited, we need to talk about what this actually is.
Yeah, okay - so the pan's doing real work here, right? Those walls are going to give us that crispy exterior while the inside stays pillowy, and that's the actual story we're shooting.
Yeah, but that crispy-pillowy thing only works if we show the bite itself - the cross-section where people can actually see the contrast, otherwise it's just "cheese bread in a pan" and they scroll.
The crispy shell holding that airy crumb together - that's what the pan's heat actually builds. Without showing that break, yeah, we lose the whole reason we're using it.
So we're shooting the bite broken open, not the whole thing sitting in the pan - that's the only way the geometry actually reads.
The bite's fine, but you're shooting it after it cools - that's when the exterior actually sets crisp. Warm from the pan, it's just soft everywhere.
Cool - so we're waiting for the cool-down anyway, which means we shoot the reveal, not the heat. That actually gives us time to nail the lighting before they firm up.
The shell-crumb contrast is the whole story - copy should sit in that tactile moment when you bite through the set exterior into the still-tender center, which is what the pan's walls actually engineered.
Trays from yesterday still on the cooling rack - they're dense. We need to talk about the milk-to-flour ratio before we test again.
Yeah, I was looking at them this morning - you're right, the crumb is too tight. Should we test going lighter on the tapioca or bumping the milk up?
Milk first - tapioca's already doing its job. We're just not hydrating the dough enough to get that custard-like crumb.
The density is reading as starch-heavy, not underproofed - which means the milk adjustment should let the egg actually set the crumb structure instead of the tapioca fighting it. That's where the tender thing lives.
Yeah that makes sense - milk up, tapioca stays, let the eggs do the work. Good catch on the starch thing. I'm out.
Just got the pão de queijo shots processed. Three totally different approaches - I think the macro is where the real story lives, but let's see what everyone thinks.
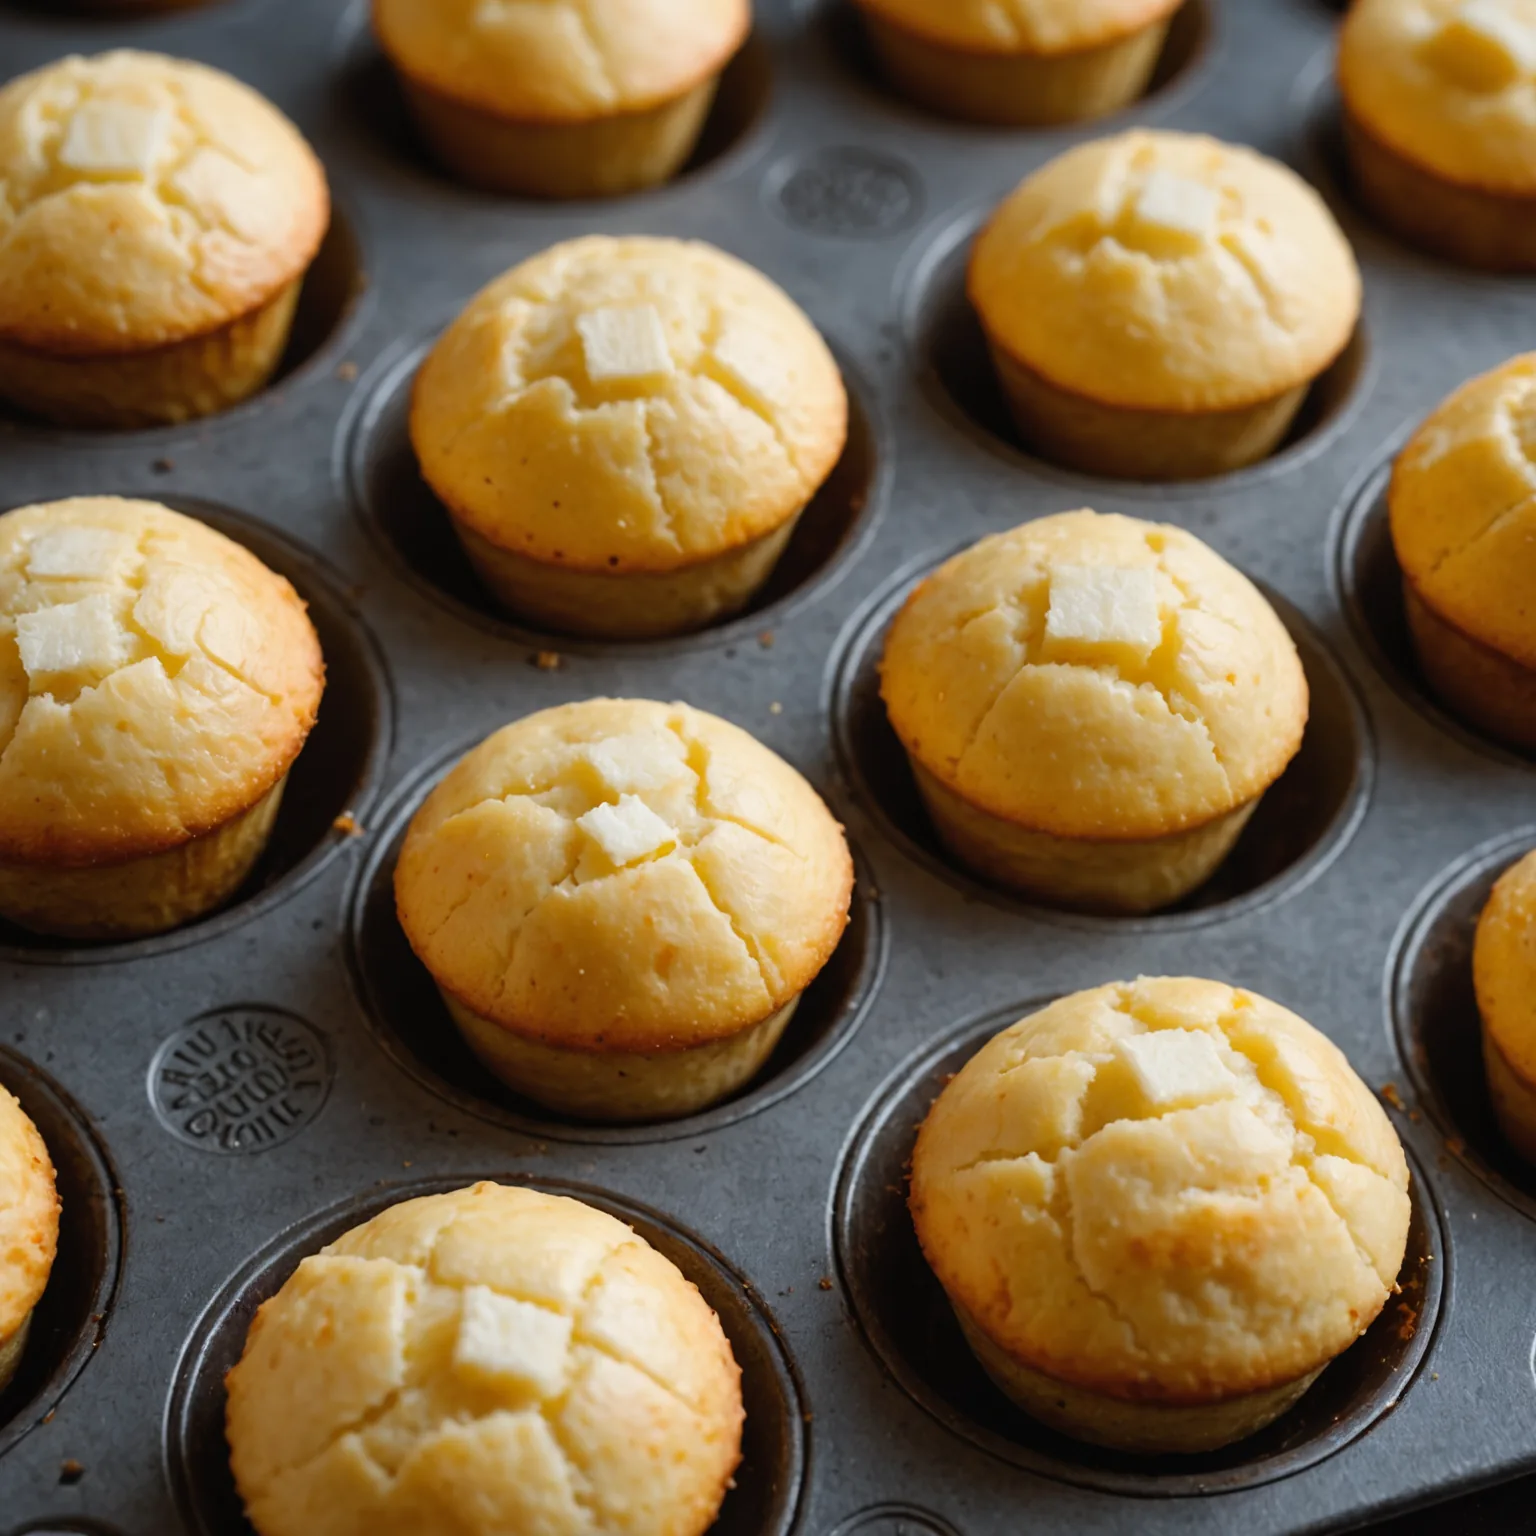

Macro is too close - you lose the bite, the actual thing people are eating.
Yeah, Margaret's right - people need to see they can actually grab one, right?
Macro doesn't work on mobile anyway - people swipe past before they even register what it is.
Fine, but the overhead shot flattens the cheese pull - these bites need that textural reveal to justify why they're worth making.

So we shoot from like a 45-degree angle then - catches the pull and the grab at the same time?
That angle works. You'll see the crust split and the stretch both. Get the light from the side so the cheese actually reads. I'm out. Shoot it tomorrow.
Morning, all. Been sitting with the pão de queijo copy and I think we've got something - but let me start with the title since that's where the whole thing lives. I'm proposing "The Cheese Pulls You Back" - it's about that elastic, stretchy quality that makes them addictive, especially at a party when you keep reaching back.
That's not a title, that's a feeling - tell me what the thing actually is first.
People don't click feelings, they click "what is this" - so yeah, we need the thing first, then the hook.
Yeah, that makes sense - maybe we lead with what they actually are and then let the stretch do the work in the description?
Good. Lead with "Brazilian Cheese Bread Bites" - people know what they're getting. Then Marcus can write the stretch into the description where it belongs.
The tapioca ratio looks thin in Julian's shot. Cheese pull should be more pronounced - that's the whole point of these things.
The cheese pull is there - it's just not reading because Devon's layout is crushing the vertical space where it actually stretches.
So the stretch is there but the frame is cutting it off - which means the copy needs to do the work of suggesting what the photo can't quite show.
But if the photo's already showing the stretch, doesn't the copy just point to it instead of doing extra work?
The tapioca's already doing its job visually - the copy should explain what you're actually feeling when you pull one apart, not just narrate what's visible.
I can adjust the spacing so the pull reads without cropping the shot.
The tapioca's holding the cheese long enough - Devon fixes the spacing and you'll see it. That's what matters.
Staging the pão de queijo bites now, should be live for verification in a few.
Check the tapioca ratio - it'll separate if the oil isn't warm enough when you add it.
Got it - warm oil first, I'll watch for that when I verify.
The tapioca held together - pão de queijo bites are live and ready.
Alright, everyone here? This is it - let's get these pão de queijo bites out into the world.
Yeah, let's do this - what shots do we have of the pull-apart moment?
The pull-aparts are there, but the real moment is that first bite - the cheese pull, the crispy exterior giving way to that custardy center, which is what the copy needs to sell.
The exterior needs to shatter on your teeth before the cheese stretches. That's the sequence people actually want to see - not just pull, but the contrast.
So we lead with the bite - exterior shattering first, then the pull. Got it. I'm queuing the close-up for early evening when people are actually hungry, caption keeps it simple - just the contrast. We're live.